Changing the changeup

The pitch referred to as a changeup is an excellent weapon for a pitcher to have in his or her arsenal. The pitch when thrown with confidence has made those with marginal talent -good. It has made those pitchers with good talent into millionaires and it has helped those with above average ability- into super stars. One does not have to look anywhere but the 2019 World Series to see Max Scherzer and Stephen Strasberg dominate the opposition with a flurry of nasty,diving and darting changeups. The pitch should be developed and utilized by all who want to become a pitcher. Velocity is king these days but there is NO reason a pitcher can not learn to change speeds with his pitches. One may ask, “ why is it important to change speeds”. Well, the answer lies with your opponent, the hitter. Hitting with all of its new gurus abound, still comes down to one important thing, timing the pitch. If the batter swings early or late, the ball is put in play slowly or completely swung and missed. Being a long time coach I am confounded when pitchers are reluctant to learn a changeup. Maybe it is the name, it isn’t macho enough. Terms like power change, spread change, ring finger change, 601 change are all more powerful words than simply changeup. Mentality is a key when throwing your nasty changeup. Let’s take a look at a few grips.

The okay or circle change has many variations depending on fingers length.
Bugs Bunny or 601 change befuddles hitters. Practice with fastball like arm speed
Use a variation of this grip. Slider the thumb up towards the index finger to slow it down even more

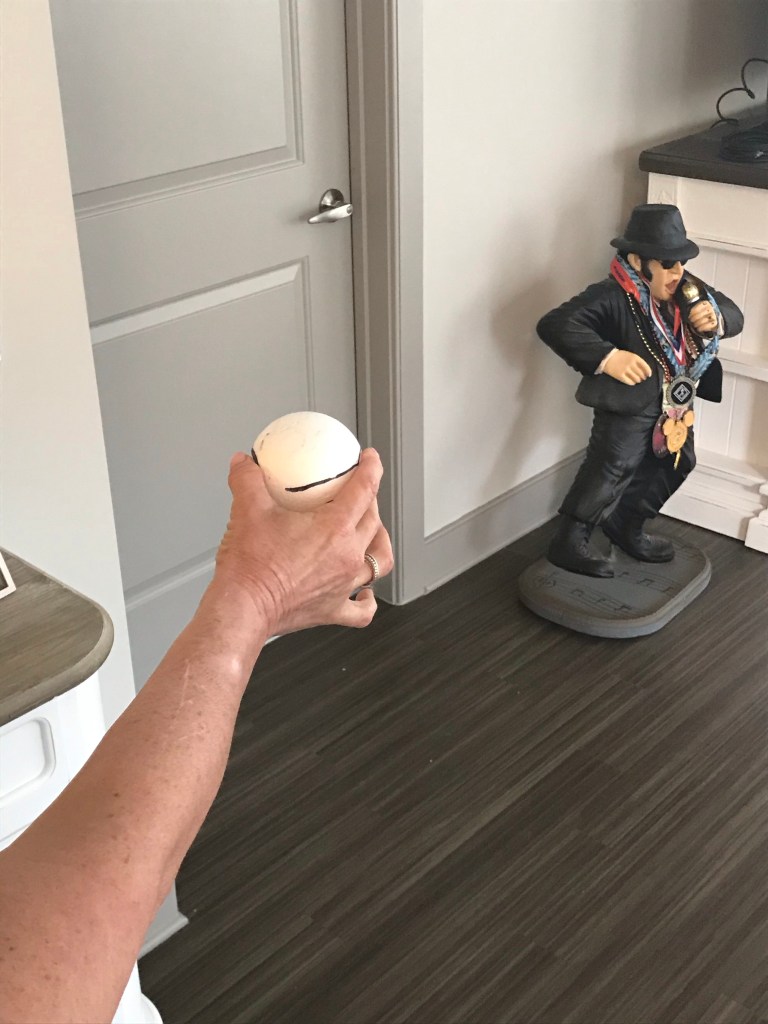
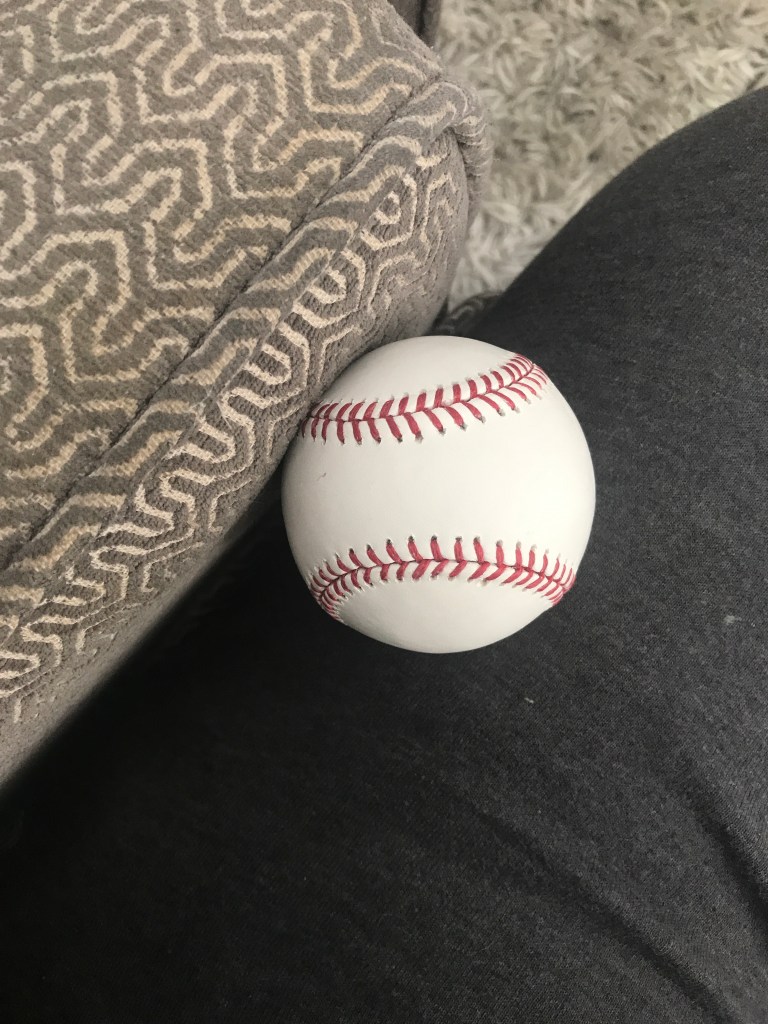
The videos show three nasty changies that I like. We know that quality changeups are slower than the fastball, they have less spin than the fastball and they have equal to or better than release extension of the fastball. These can be areas of emphasis when learning to throw one. Of course we want the same arm slot as the fastball as well. A common mistake in learning this pitch is trying to place it in the strike zone. The pitch just needs to look like a strike for the majority of its flight towards the batter. Find an aiming point on the catchers body to start your changeup is important. You want your disgustedly good change to look like a strike and the movement will take it to the bottom of the strike zone and below the zone. When the catcher gives you the sign, universally, a fingers wiggle, grip it and rip it. Check out these quarantine nasty pitches thrown with our styrofoam balls.

Check out the release on this spread change. Excellent hand position and the ball action is unreal
This okay change has late action. The pitcher sold it using fastball arm speed and finish.

Some common questions are about the speed of the change. There isn’t a magic number or percentage of velocity but let the hitter tell you if it is too hard. If so, spread your fingers some and/ or Move the middle finger away from center of the ball. You can find away to kill spin with your grip, the depth of the ball in your hand. You can do it, deliberate practice is the key to designing a nasty change. Also, I am asked if it is hard on the arm. There are no studies out there to suggest this issue. One big thing the change does, it keeps pitch counts down. If your son pitches in little league or you coach a team you know pitch counts are crucial to survival in a tournament. Be safe everyone

Stay home sliders

Today let’s learn how to throw a slider the right way. We are using styrofoam balls for a few reasons. One, we are indoors and don’t want to beat up the walls. Two, the styrofoam balls give the thrower instant feedback. If you throw it correctly the wicked break is easily seen, if not, you spike it in the dirt or it floats the wrong direction. Three, it is safe for all ages to learn. One of the throwers you will see in the videos is a female. She has never thrown sliders, curves and change ups but in the upcoming weeks, she will throw them with brilliance. The next video will talk about the proper grip.

Gripping a disgusting slider

We will speak about grips all the time. Good grips are the foundation to throwing the ball whether from the field or from the mound. To be good at throwing or pitching we need a strong foundation. The grip is just that. The slider grip is easy to find working off the center of the ball. The pads of middle and index finger are hooked fairly on the seam. The next dynamic part to this equation is the action of the hand and fingers at release. Remember, we will always get our hand in to the Magic Circle when leaving the glove. Once our hand is passing our head on the way to release point we will move into the release action. Throw the pitch with a loose arm but the slider is a violent pitch. The video below will show us more

Slider chop

Told ya it was violent. The slider takes deliberate practice. One can transition from styrofoam ball to baseball with no problems. Remember that picking a starting point to aim at is important. While the curve will have a lot of vertical break, the slider will have more horizontal break. It is thrown with velocity and has a similar trajectory of a mid thigh high fastball. This pitch takes some strength to be thrown properly. I prefer young pitchers choose one breaking ball, the slider or the curveball. For a young pitcher to have two breaking balls is very advanced. Enjoy the stay at home sliders, you will be spinning them off the mound one sizzling summer day soon.

Check out finger action, late break
Wicked spin
Stay home slider

The Learning Curve

The Curve Ball Release

This time of quarantine I have searched for something fun to do inside this beautiful apartment. I also want to keep teaching everyone about baseball, throwing and pitching. We are going to introduce how to throw a curve ball correctly, while inside the crib. The most frequently asked question about the curveball has been; how old should my son or daughter be before they begin throwing the curve. Well, ASMI.org is the best place to find the answer to your youth pitching guidelines. Pitch Smart is also great, find it via Mlb.com.

Tracing the proper grip on my styrofoam baseball

We are learning to throw the curve properly using a styrofoam ball. It does not strain the arm, it is fun and it is educational. We taught Mom how to throw a nasty curveball inside the apartment. The grip, as you see from the video, is important. The emphasis is on the middle finger. The index finger is along for the ride. Use the side of your thumb so we can get the most spin possible. We have our grip, our release position at release ( think of holding a glass of water out in front of you.)

Proper release position. Get your glass

Now, let’s throw a few quarantine curve balls. Make sure to pick out a starting point- where we aim the ball- because your pitch is going to curve. A good curve breaks up to down, top to bottom or if you like it breaks from one o‘clock to seven o’clock, if you are right handed( face of the clock). Now, as we learned in the past, let’s grip it and rip. Enjoy and stay healthy

Curve ball. SLO mo
She learned a nasty curve in minutes

Let it Eat

Let it Eat

This is a fun drill for any overhand thrower. Baseball or softball, young or old. On the included video, we did the drill inside a batting cage. It can also be done in a net in your backyard or there are so many portable nets I have seen on the baseball and softballs fields. I like this drill because it encourages athleticism and it promotes throwing fast. If your team has a pocket radar gun or some type of device to measure throwing velocity, use it. It makes the drill more fun for the players. The players I have seen make a competition or game out of it. One can keep score on who improves the most, not who only who throws the fastest. This often leads to your players towards learning the proper warm up, to practice away from the field, to do the band work that we are going to introduce and to improve their athleticism by moving fast. To do this drill get 40-50 feet away from the net. In our video, we were thirty five feet away from the net. Our player in the video, Payton, gained about 25 feet in his momentum moving forward. He used a simple step behind foot work, a simple shuffling of the feet. One can also use heel to heel shuffle forward. This is the footwork involved in throwing the ball across the diamond or throwing longer distances. The timing of the weight transfer is important when doing this drill and when throwing across the field. When the athlete improves their footwork and improves the timing of proper weight transfer, they will see an increase in velocity. That is a reason we want to measure and document each players throwing velocity and their increases. Remember the grip we use is extremely important as well. What else is important , come on? The throwing hand and arm working in the magic circle. This is a drill I like because it is enjoyable for the athlete, it teaches athleticism and it is a skill we can measure. Each coach can add his or her own twist to make the throwing drill more fun to his or her particular team. A fun fact for everyone, an elite throwers arm travels at 8500 degrees per second, meaning the arm would spin around 24 times before coming to a stop! Whaaat! This fact I read years ago in an article in popular mechanics about throwing velocity. Stay safe everyone and enjoy throwing the ball. It is for everyone.

The Triple Lundy Drill

This drill is one for developing powerful movement patterns for overhand throwers. We want to emphasize drills and exercises that cue the body in move in the most efficient and most powerful way possible. The good drills, like this one, can be done just about anywhere not only at the field. This drill does require that the catch partner be ready for some velocity so throwing in a net or fence at a short distance might be the best plan. In this drill we will make three aggressive faux throws to target in the direction we are facing and on the fourth cycle we will pick up our glove side foot and turn to the glove side and throw the ball fast to out net a short distance away. Accuracy is not the emphasis of the drill. This drill begins with the thrower in an athletic stance, feet shoulder width apart. The throwers hand are together at mid chest height, in a direct line with the chin and navel- remember center of mass? Of course, you do. Rotation of the upper body is an important part of this drill, make sure you are getting a nice turn. As we begin our cork screw turn the ball will separate from the glove, the hand will travel through the Magic Circle, the glove arm reach out towards the target, while remaining flexed and natural to the particular athlete. The glove arm will work back towards the body as the throwing arm unfurls forward with proper wrist snap and finish. We want the fake throws to be aggressively emphasizing arm speed. Make sure we get the same coil on the throw forward. Lift your lead foot as the ball seperates from the glove, stride towards the target and let the ball fly. Do this drill on days you want your athletes to work on velocity and power. I have had six players at a time in a batting cage doing it. Remember, the distance is short, it is for all ages, throwing into the net or fence is suggested. The drill is named after a good Rodney Dangerfield movie which has nothing to do with baseball but the movie is a classic.

Triple Lundy Drill
Triple Lundy

Hip hop

This drill is a good one to teach your athlete about weight transfer. It can be added to the other two throwing drills we have spoken about or to substitute in your rotation of drills to keep it fresh. During this drill your players need to back up a little because we are going to throw faster than in the other drills. Make sure your team is lubed up well and ready to let the ball go before starting this. To do this drill, we are going to hip to the lead foot, taking a small hop forward before hopping back to the throwing side leg. Now, we are going to teach our athlete to hesitate on that back leg for a short time. How long, about the time it takes to snap your fingers. Let’s talk about what the players doing during that hesitation. We should encourage them to really slow it down to “feel” the body weight loaded on the throwing leg side, And, we want to teach them to push down into the ground before driving forward. Wow, this is going to be enlightening, career changing to your athlete. It is something called ground reaction force, it is important to athletes, especially our pitchers and hitters. We will talk about that later in simplified terms. Let’s get back to executing the drill; we have hopped back, pushed down into the ground and now we begin to drive forward towards the target, our throwing hand separating from the glove-on time- our hands works the Magic Circle- back to forward in an efficient manner, unfurling forward as we release the ball out in front of your face, fingers behind the ball. The ball peels off the fingertips creating powerful backspin. When you watch the video, watch the lead leg, it stops or blocks your momentum from going any further this is extremely important. Have fun, doing this one. Take 10-12 reps and really slow it down when initiating this into your practices..

Hip hop drill
Hip hop OG style

Warm it up Kris

Teaching our players to throw the right way takes some time. It takes persistence and this is where warm up throwing drills come in to play. The drills can be done every practice to start your daily throwing program. I have seen these drills implemented from ages eight to thirty eight. The first drill we like to call” face up”. The throwing partners are facing one another from 30 feet apart for the youngest and 45 feet apart for ninth graders and above. Your athlete is in an athletic stance, if you are not sure what that stance looks like, have your players get feet shoulder width apart and leap high as they can. When they land- you have a nice athletic stance. We start the throwing drill with ball in glove, ball properly gripped, and glove mid chest in line with the nose and belly button. This is about center of mass or gravity if you want to sound smart. We are going to rotate the glove side shoulder towards the chin, midway through the turn we are going to take them ball from the glove. We are going to reach back with the throwing arm, keeping the fingers on top of the ball, move your throwing arm forward towards your throwing partner and release the ball. The throwing arm should always be loose, never stiff. When we take the ball from the glove and reach back the throwing hand travels in a circular motion. This keep your arm path moving efficiently. We are going to call this “ The Magic Circle”. When the thrower releases the ball, his or her wrist snaps toward the target. The ball should spin beautifully off her or his fingertips creating powerful, efficient back spin. #baseball#playerdevelopment#pitching#throwing

Face Up Throwing Drill

grip it and rip it

Throwing an object is fun thing to do. Being able to throw a ball well, is a coveted skill. Throwing a softball or baseball with speed and accuracy is poetry in motion to me. Throwing is a full body exercise – a toe nails to finger nails movement- if you will. It takes some coordination to do it correctly. Before we begin I want to say how important it is to teach all your players a proper warm up routine and how important it is that we as coaches and parents insist that it is done before we throw the baseball, softball or football, every time. One of the most important parts in throwing is how we grip the ball. I have worked with 8 year old and 38 years olds, softballs and baseballs. So, size matters. Many young baseball players need to use three fingers to control the ball, softball players do that too. Once the fingers are long enough, two fingers is ideal for throwing a baseball. Where we grip the ball is important. The balls have built in seams for us to grip. We want the pads of our fingers across those seams so we can backspin their ball. Science tells us that a lot of spin is good and that the aid of the spin is important too. These start with the right grip. If we turn the ball so we are looking at the “backwards c”, we would love our fingers to lay across that C with the pads of our fingers caressing the top seam. Add a third finger there is your fingers are not long enough to control the flight of the ball when you throw it. One can also turn the ball to where the seams Re closest together and grip it there. The ball still rotates well with that grip and is good for smaller hands. The thumb goes underside of the ball, bisecting the ball down the middle. Once a thrower gets good, and fingers permit, we want to tuck the thumb so that the ball rests on the side of the thumb. This allows for less friction which means more spin. These are basic grips for all. Find the one that works for you; warm up properly, grip it and rip it.

Backwards C
Seams are closer together