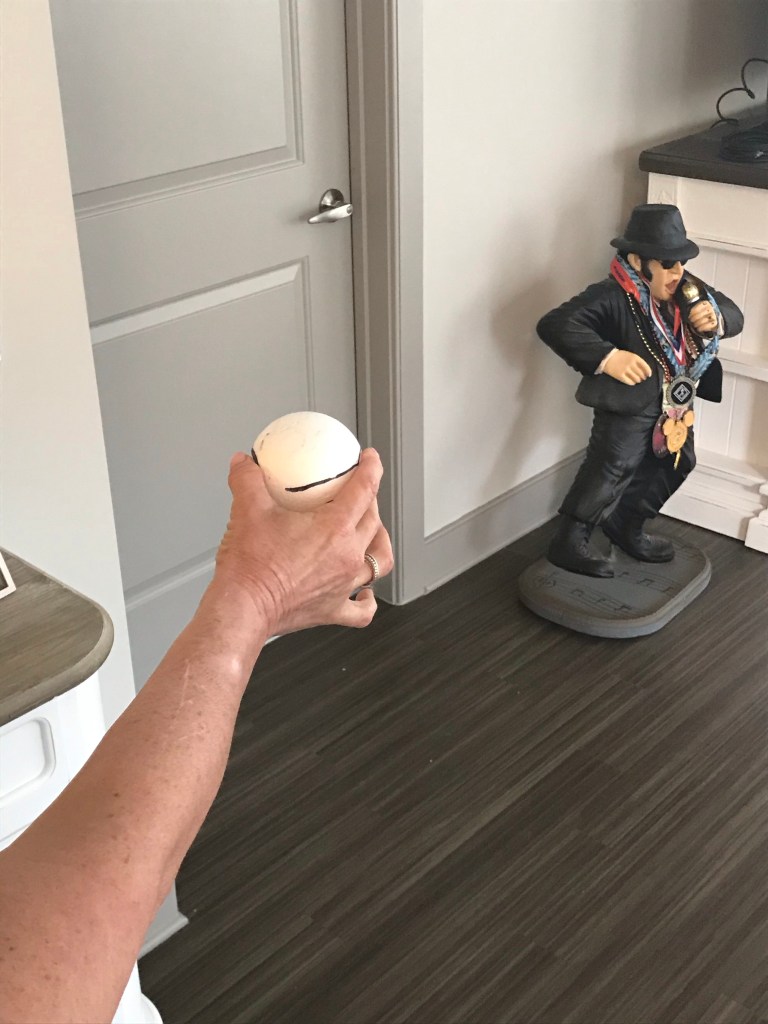
Today let’s learn how to throw a slider the right way. We are using styrofoam balls for a few reasons. One, we are indoors and don’t want to beat up the walls. Two, the styrofoam balls give the thrower instant feedback. If you throw it correctly the wicked break is easily seen, if not, you spike it in the dirt or it floats the wrong direction. Three, it is safe for all ages to learn. One of the throwers you will see in the videos is a female. She has never thrown sliders, curves and change ups but in the upcoming weeks, she will throw them with brilliance. The next video will talk about the proper grip.
We will speak about grips all the time. Good grips are the foundation to throwing the ball whether from the field or from the mound. To be good at throwing or pitching we need a strong foundation. The grip is just that. The slider grip is easy to find working off the center of the ball. The pads of middle and index finger are hooked fairly on the seam. The next dynamic part to this equation is the action of the hand and fingers at release. Remember, we will always get our hand in to the Magic Circle when leaving the glove. Once our hand is passing our head on the way to release point we will move into the release action. Throw the pitch with a loose arm but the slider is a violent pitch. The video below will show us more
Told ya it was violent. The slider takes deliberate practice. One can transition from styrofoam ball to baseball with no problems. Remember that picking a starting point to aim at is important. While the curve will have a lot of vertical break, the slider will have more horizontal break. It is thrown with velocity and has a similar trajectory of a mid thigh high fastball. This pitch takes some strength to be thrown properly. I prefer young pitchers choose one breaking ball, the slider or the curveball. For a young pitcher to have two breaking balls is very advanced. Enjoy the stay at home sliders, you will be spinning them off the mound one sizzling summer day soon.